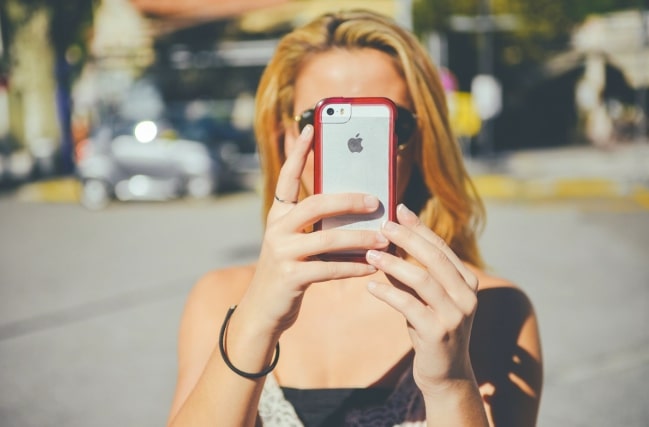
New smartphones are coming out every year with increasingly impressive functionality, one of which being the quality of the cameras they come with. The most recent iPhone models, for example, allow people to take incredible photography and, in some cases, the results are indistinguishable from a professional camera. However, you may notice that even with the amazing camera on your iPhone, your photos are still not turning out as nice as you see on social media. Here are some tips and tricks that will improve your photography game!
1.) Adjust lighting
Lighting is one of the most important factors in taking a sharp picture that also aesthetically looks nice. If your environment does not provide enough natural or artificial light, you may want to adjust some settings on your iPhone to improve the lighting. Selfie shots will benefit from backlight adjustments, while pictures taken with the front camera will need brightness adjustments. Having the HDR setting on can also be helpful, as it automatically takes multiple images in various exposure levels and combines them for the best results.
2.) Use focus mode for sharpness
The autofocus on your iPhone camera works very well in most instances but, if you are experimenting with creative photography, using the manual focus mode can make it easier for you. It essentially allows you to choose your own focus within the frame (by simply tapping on it) and keep the focus on that object / person while you adjust your positioning. This will help you make sure that the main focus of your picture is nice and sharp.
3.) Live Photo feature
The Live Photo feature on iPhones is particularly great when trying to take a picture of a moving object or a person. It allows you to take a short video and then select the best frame within it to be extracted as your image, while maintaining its high quality and sharpness. So, for instance, if you have someone modelling for them, they can adjust their poses and do slight movements to capture the perfect shot.
4.) Make use of the grid
The composition of your photography is highly connected with how straight, even and centred your shot is – sometimes the smallest unevenness in the image will make it look a lot less professional. To help you prevent that, make sure you always use the grid function on your iPhone camera.
5.) Use the Portrait mode
The Portrait mode is one of the easiest yet most effective life hacks when taking photos with a smartphone camera. While it’s supposed to be for portrait pictures of people, you can easily use the mode to capture various objects too. What it does is make the background behind the focused object or person blurry, which makes for a really cool and professionally-looking shot.
6.) Edit photos afterwards
All of the above tips will help you make sure that your photos are sharp, nicely aligned and altogether look great right after the snap. These are the things that you can and should adjust in advance to make the editing process easier or even unneeded. However, doing some photo editing to improve the photo further can always be beneficial. You can play around with the different settings, such as brightness, sharpness, exposure and hue saturation for a more stunning final result!


