Who doesn’t enjoy clicking photos of the things we love? Moreover, in this digital world, it is tough to keep ourselves from sharing our creativity with the world. But how do we turn these everyday memories into professional-quality photos?
Before you break out in a cold sweat, we would advise not to fret. Because this blog is going to walk you through the basic photo editing steps for turning any photo into a masterpiece. In fact, there is something extra for you too. So, let’s dive into it!
The Basics Of Photo Editing: Step-By-Step
You should always start with basics like Crop, Straighten, Auto-Fix, Exposure, Saturation, Sharpen, and Resize.
- Crop
Cropping and pictures are total BFFs as it is the quickest way to remove distracting elements and improve the overall composition. A good online photo editor should make it easy to drag and crop to show you the future size of your photo.
- Straighten
Then, you must check your image if it’s in the right alignment or it’s just slightly askew. Accordingly, approach the Straighten slider and fix this.
- Auto-Fix
If you are somebody who’s not very confident about editing yet, then you can consider Auto-fix. However, it not always the best option as manual photo editing offers a better experience. Let’s see how to do it.
- Exposure
This feature fixes an under or overexposed photo. The rule for photo editing is that if your photo is too bright, decrease “Exposure”, enhance “Shadows” and “Contrast”. However, for a dark photo, you should increase “Exposure”, “Highlights”, and reduce “Contrast”.
- Saturation
Then fix the saturation to define the intensity of your colors. You can go bright or subtle by adjusting the Saturation slider in Colors. A good online photo editor allows you to choose “Neutral Picker”, adjust “Saturation” and “Temperature” to get the right detailing.
- Sharpen
Sharpening defines your image by enhancing little details. You should use “Sharpness” and “Clarity” sliders for this. A tip would be to zoom in your photo to at least 100 percent. This will reflect on your image’s strength and clarity since over-sharpening can make your image look grainy. Ideally, you should keep this last in your photo editing.
- Resize
Finally, this is an optional photo editing step, in case you want your image in a particular size or resolution. An online editor should offer two options for adjusting size – pixels and percentages.
And, you’re good to go! Want to explore higher-level photo editing? Keep reading!
How To Achieve Professional Photo Editing Easily
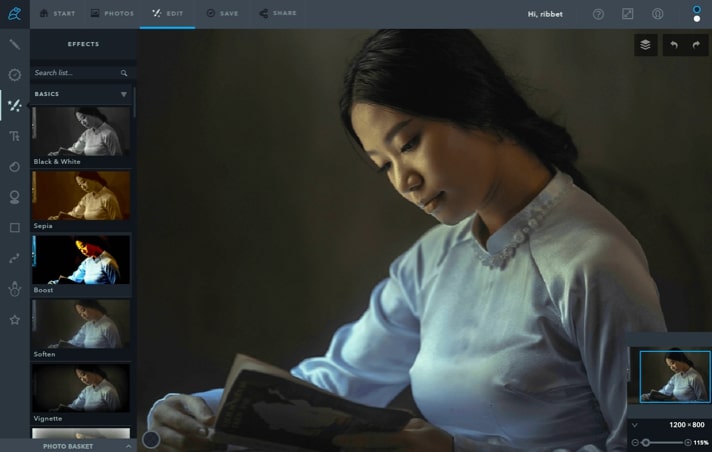
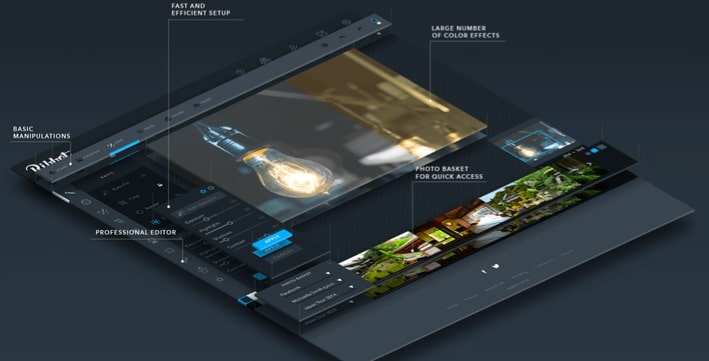
Now, to go next-level, you should go for a photo editing app. If you ask us, Ribbet is currently our top favorite! If you need to do fast photo editing, download and try Ribbet photo editor. But first, let’s see what can it offer to you.
- Filters & Presets
If you are aware of Lightroom, you will find this familiar. You will find tabs as Basics, Filters, Camera, Color, Area, Artistic, Misc, and Sandbox. Try out the “Basic” tab with features like Black & White, Sepia, Vignette, Matte, etc. Furthermore, check out all these tabs for interesting effects.
- Touch Up
This tool is a blessing, especially if you are playing with human faces. It makes photo editing look more authentic. You can easily change the color of eyes and lips, or whiten the teeth. You can also remove unnecessary mole or change “Blush”. The tool features 4 tabs: Skin, Eyes, Mouth, and The Rest; there is also a Pro tab.
Final Words
Ribbet makes quite an efficient photo editing app. Moreover, this online photo editor does not occupy much space and is designed for simple photo correction. It is available as a web, PC, and mobile versions. However, we recommend using a PC version the most. There’s a lot more to explore when you come to this platform. Explore it here.

")

